Taking apart a Sony VAIO to replace the hard disk drive
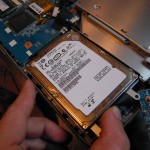 Following a recent hard drive crash on my Sony VAIO VGN-NR10E laptop, I had to take it apart to change the internal HDD. I took some photographs of the tear-down process, and here is a visual step-by-step break-down guide on how to perform this hardware upgrade.
(You can click once or twice on all the pictures to enlarge them)
Preparing for the disassembly
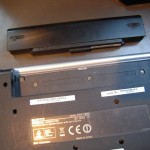
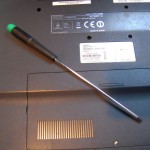
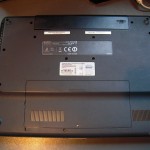 First of all, after having completely shut down the computer, take down all peripherals: unplug all USB extensions, disconnect the ethernet and power cord, and unlock and remove the battery pack. Then flip the unit upside down and prepare a small Phillips screwdriver to disassemble the back cover. Please be aware that opening the chassis of your laptop computer may void the warranty. This said, if you’ve owned your computer more than two years and did not purchase a guarantee extension, chances are your machine is not under guarantee anymore anyway.
Taking it all apart
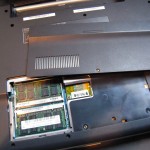
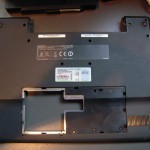
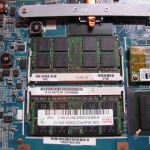
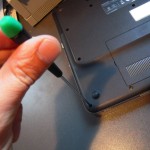 You will have to remove a total of 21 small screws from around the backside cover to gain access to the internal hard drive attachment. Start with the screw from the memory module back cover. Then remove that cover to reveal two additional screws to remove. Screws to be removed in order to dismantle the Vaio are marked with a small double arrow. The screws behind the battery pack do not have to be removed. Once completely loosened, you can leave the screws hanging inside the plastic cover (in order to avoid losing the tiny screws or mixing them up, you can use adhesive tape to keep them in-place inside the cover hole while you perform the HDD swap.)
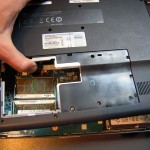
Once the 21 screws are loosened, you can gently pull all around the chassis to unclip the plastic backside cover and un-assemble it from the chassis. Be careful to avoid breaking any of the small plastic clips that help the cover fit tightly into the chassis.
What’s inside the Sony Vaio VGN laptop
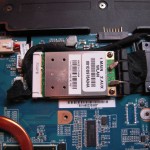
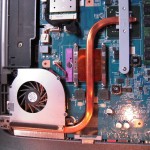
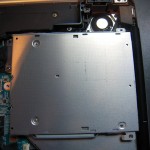
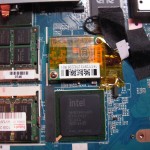
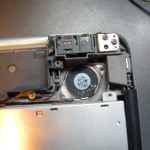
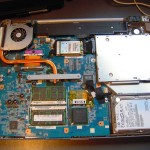
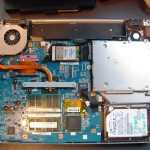 Once the cover is completely removed, you will see the internal 2.5 inches SATA hard disk attached to the lower right corner of the motherboard. Now for the inner view: look at the complete motherboard chassis and sit back and take a few minutes to enjoy the insight of this beautifully engineered piece of high-precision hardware! You will need to remove 3 additional screws to be able to detach the drive. Start by removing the two screws that hold the 2 USB ports on the side of the drive. Then strip the single screw that keeps the disk drive attachment bracket fastened to the motherboard assembly.
Please locate a black plastic tab on the right side of the hard drive (normally hidden under the side USB port assembly). By gently pulling up and away from the motherboard SATA/power connector, you will be able to completely unlock and remove the HDD bracket from the chassis.
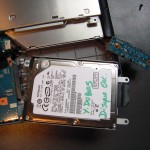 Now you just have to remove the 4 small screws around the hard drive bracket to take apart the HDD unit.
Swapping the drive → Continued on page 2…
Pages : 1 2

